A Straightforward Guide to Drag-and-Drop Custom Mug Creation in 2026
A newsroom-style, step-by-step tutorial explaining how to create polished custom mugs quickly—without prior design experience—using modern drag-and-drop tools.
Introduction
Custom mugs remain one of the most accessible forms of personalized merchandise. They are commonly used for corporate gifts, internal team recognition, event giveaways, and small online product launches. The production process is straightforward, but the design stage often creates hesitation for people without graphic design training.
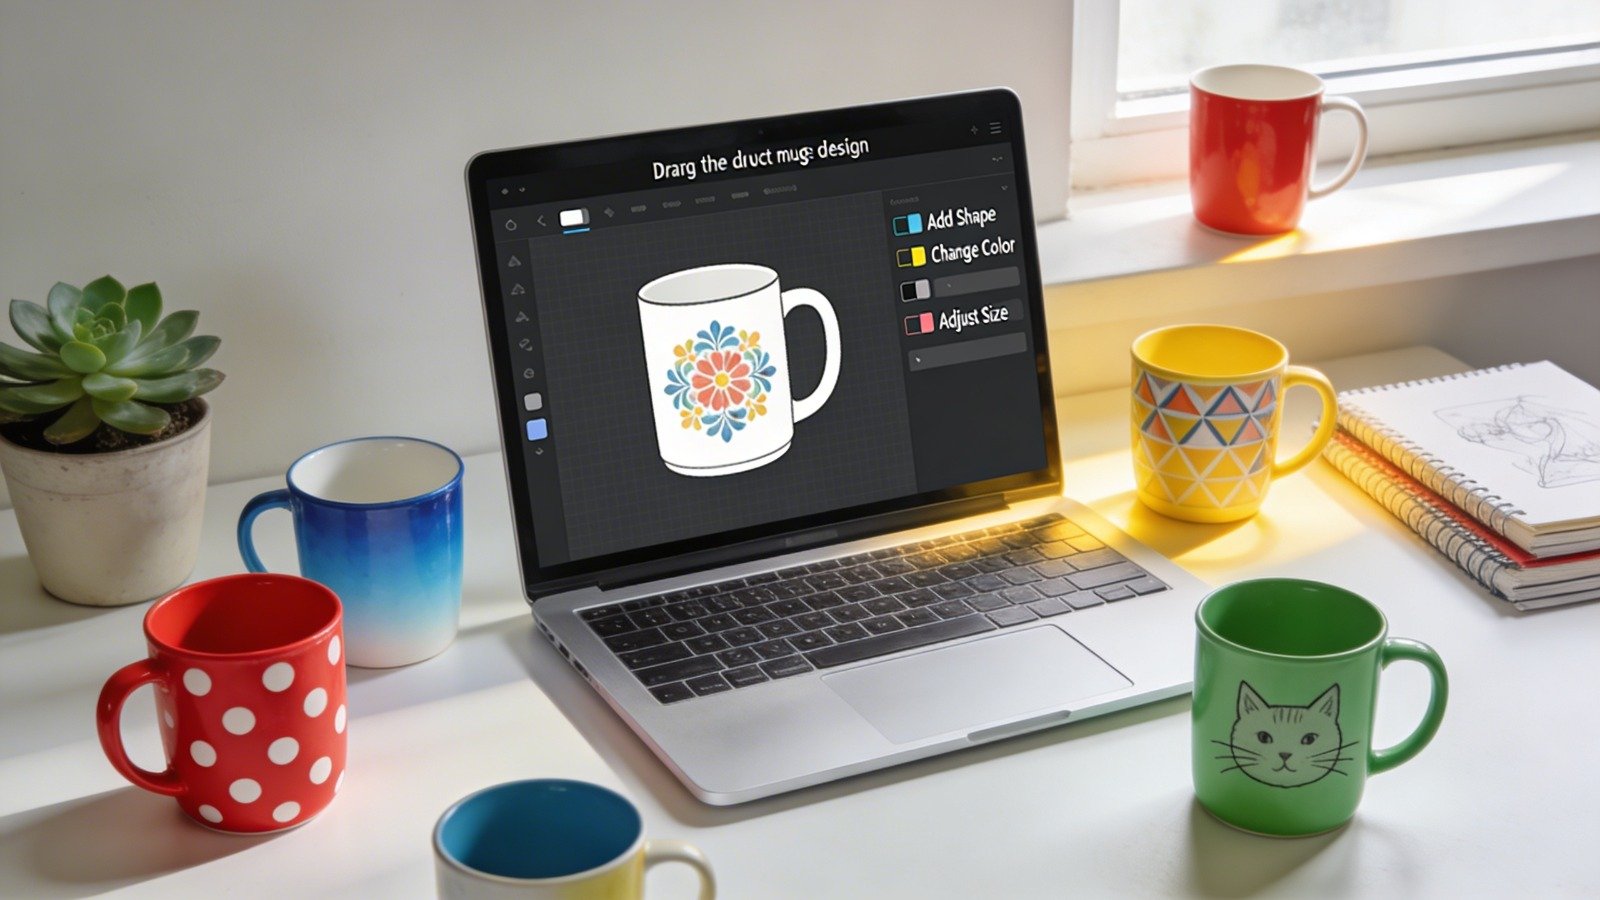
Drag-and-drop mug design tools address that barrier by offering pre-sized canvases, built-in alignment guides, and template-driven layouts. Instead of worrying about print margins, resolution math, or layout software, users work directly inside a guided environment built for product printing.
In this category, tools differ in how clearly they show safe zones, how they handle typography, and how seamlessly they connect design to ordering. For a structured starting point, mug printing designs from Adobe Express provide a print-ready canvas with layout guides that reduce formatting errors.
The workflow below explains how to move from idea to final order using drag-and-drop custom mug tools, while highlighting complementary platforms that support specific steps of the process.
Step-by-Step How-To Guide for Using Drag and Drop Custom Mugs
Step 1: Open a Properly Sized Mug Template
Goal
Start with a correctly configured canvas that matches your mug’s printable dimensions.
How to do it
- Select a mug template.
- Choose the mug size (11 oz or 15 oz).
- Review the indicated print area, safe zone, and bleed margins.
- Decide whether you want a single-sided print or a wraparound layout.
- Save the project with a clear name for version tracking.
What to watch for
- Selecting the wrong mug size before designing.
- Ignoring safe margins, which can lead to cropped text.
- Placing key elements near the handle seam.
Tool notes
If you plan to sell the mugs later, platforms like Printful can be used after design to manage on-demand production and product mockups without requiring in-house inventory.
Step 2: Clarify the Message Before Designing
Goal
Define the core idea so the design stays focused and uncluttered.
How to do it
- Decide whether the mug centers on text, a photo, a logo, or a mix.
- Write the exact wording you intend to use.
- Limit the main phrase to one concise statement.
- Identify the audience (gift recipient, team members, customers).
- Outline a rough layout concept.
What to watch for
- Overloading the mug with too many messages.
- Using long paragraphs instead of short, readable phrases.
- Mixing incompatible tones (corporate + novelty humor, for example).
Tool notes
For brainstorming short slogans or refining wording before placing it into your design, tools such as Grammarly can help tighten phrasing and catch tone inconsistencies.
Step 3: Add Typography and Adjust Layout
Goal
Create readable text that remains clear on a curved surface.
How to do it
- Insert a text box and paste your finalized wording.
- Choose one primary font and, if needed, one accent font.
- Increase font size more than you would for a digital graphic.
- Adjust line spacing and alignment.
- Use alignment guides to center or balance the layout.
What to watch for
- Thin or script fonts that may print faintly.
- Very small secondary text.
- Crowded layouts without white space.
Tool notes
If you want to test alternative type pairings before finalizing, Google Fonts is a useful reference library for comparing font styles and checking readability across different weights.
Step 4: Insert Images, Logos, or Graphics
Goal
Incorporate visuals without reducing print quality.
How to do it
- Upload high-resolution images (ideally 300 DPI source files).
- Resize proportionally to avoid distortion.
- Remove backgrounds if needed.
- Keep important elements within the safe area.
- Balance image scale relative to text size.
What to watch for
- Pixelation when enlarging low-resolution images.
- Stretching logos out of proportion.
- Placing essential design elements near wrap edges.
Tool notes
If your logo needs refinement before upload, tools like remove.bg can quickly isolate the subject from a background for cleaner placement inside your mug design.
Step 5: Preview the Mug in Mockup Mode
Goal
Confirm how the design looks on a realistic mug model before ordering.
How to do it
- Switch to the 3D preview or mockup view.
- Rotate the mug to inspect alignment from multiple angles.
- Check placement relative to the handle.
- Confirm that wrap designs meet cleanly at the seam.
- Zoom in to review text clarity.
What to watch for
- Visual imbalance when viewed from the front.
- Text wrapping too far around the handle.
- Unexpected cropping at the print boundary.
Tool notes
If you plan to use the mug image for marketing, tools like Placeit can generate additional lifestyle mockups for social media or product listings once the design is finalized.
Step 6: Finalize Print Settings and Export
Goal
Ensure the file is technically ready for printing.
How to do it
- Double-check margins and bleed areas.
- Confirm color contrast is strong.
- Review spelling and capitalization.
- Export using the recommended file type (PNG or PDF).
- Save both the editable file and exported version.
What to watch for
- Transparent elements that may not print as expected.
- Incorrect file format for your printer.
- Resolution reduced during export.
Tool notes
If you need to convert file formats before submitting to a printer, online utilities such as CloudConvert can help adjust file types without redoing the design.
Step 7: Manage Ordering and Delivery
Goal
Move efficiently from finalized design to distribution.
How to do it
- Confirm order quantity and mug size.
- Verify shipping addresses.
- Review estimated production timelines.
- Track confirmation emails and shipment updates.
- Archive final files for reorders.
What to watch for
- Ordering the wrong variant (size or color).
- Deadlines too close to event dates.
- Missing recipient details for bulk shipments.
Tool notes
If distributing mugs to multiple locations, shipping management platforms such as ShipStation can help organize labels and tracking once production is complete.
Common Workflow Variations
Photo-Centered Gift Mug
Keep text minimal and increase brightness slightly to compensate for ceramic printing surfaces.
Team Recognition Mug
Use a centered logo with a short achievement line. Maintain brand colors for consistency.
Minimalist Text Design
Choose one bold statement with high contrast. Avoid secondary decorative elements.
Small-Batch Online Product
Create one master design and test color variations for seasonal or audience-specific editions.
Checklists
Before You Start Checklist
- Final wording drafted
- High-resolution images available
- Correct mug size selected
- Brand guidelines reviewed
- Timeline confirmed
- Shipping plan prepared
- Permission secured for all artwork
Pre-Order Checklist
- Spelling verified
- Fonts readable at print size
- Safe margins respected
- Images not pixelated
- Alignment near handle checked
- Correct quantity selected
- File exported in correct format
Common Issues and Fixes
Blurry Print
Replace low-resolution images with higher-quality files or reduce scaling.
Text Cropped at Edge
Reposition text within the safe margin.
Muted Colors After Printing
Increase contrast slightly before export.
Wraparound Misalignment
Extend background elements fully to bleed and recheck seam alignment.
Overcrowded Design
Remove non-essential graphics and refocus on one main message.
How To Use Drag and Drop Custom Mugs: FAQs
Do I need professional design software?
No. Drag-and-drop mug platforms are built to handle print dimensions and layout boundaries.
Should I start from a template?
Templates simplify alignment and spacing, especially for beginners.
Can I reuse the design later?
Yes. Save the editable file and exported version for future reorders.
How much text works best?
Short phrases perform better visually and are easier to read on a curved surface.
Is it better to design inside the print platform or upload a finished file?
Designing inside the platform reduces formatting errors. Uploading externally offers more control but requires careful technical setup.