How to Print Custom Apparel with DTF Transfer Film

DTF transfer film has changed how people approach custom t-shirt printing. Many decorators now use DTF because it offers flexibility and cost savings. Over 65% of decorators include DTF in their services, while the global market keeps growing. Custom t-shirt printing feels more accessible than ever.
DTF Transfer Film: Materials and Equipment
Choosing the Right DTF Film
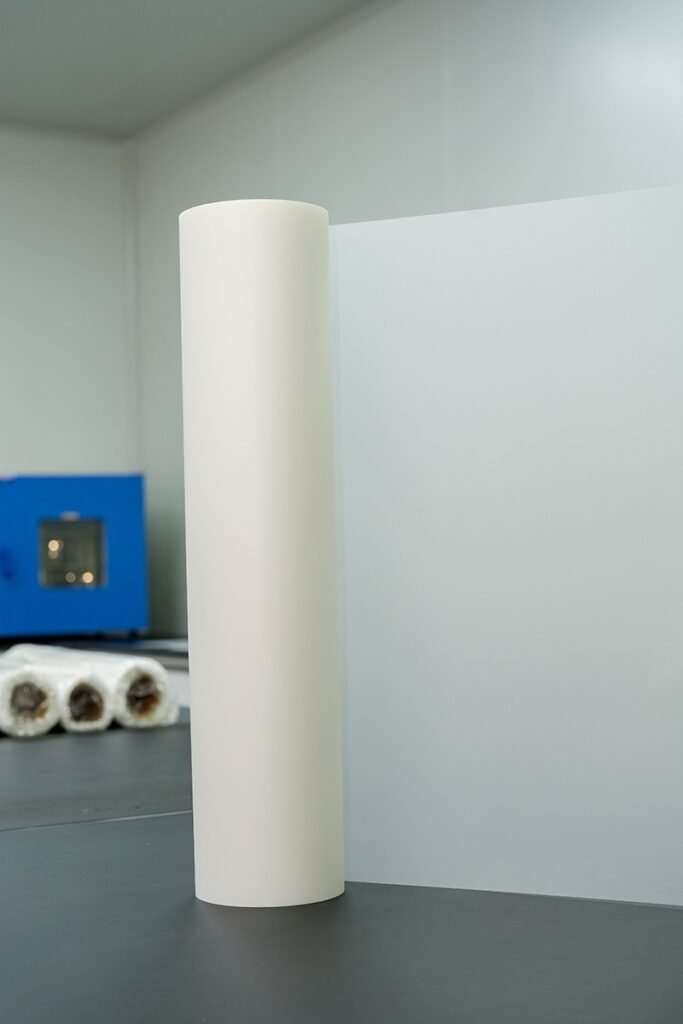
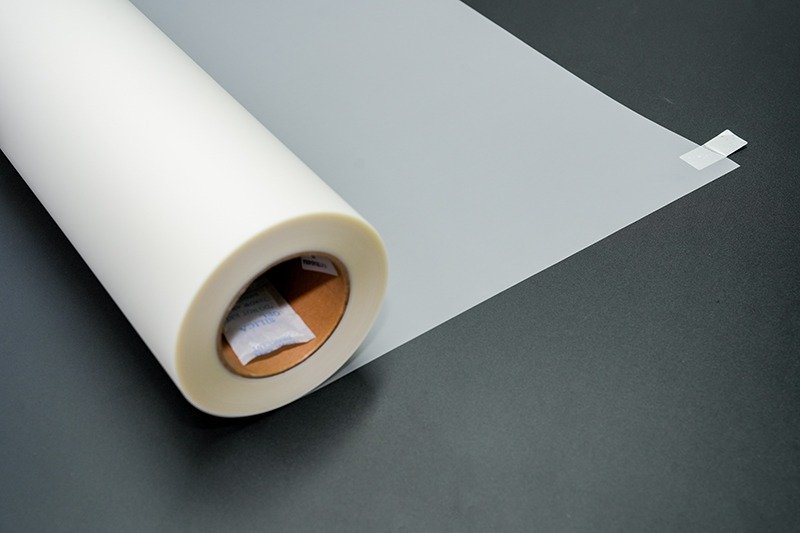
SAILLAGE offers several types of dtf transfer film, each designed for different printing needs. The All-Time Peel Double-Sided film gives consistent results and works well for most custom t-shirt printing jobs. Hot Peel Dual-Sided Mate film speeds up production, which helps when printing many garments quickly. Cold Peel Dual-Sided Mate film suits delicate fabrics, letting users peel the dtf transfer sheets gently. A3 and A4 Double Sided Mate dtf transfer sheets allow for both large and small prints, making them flexible for any project.
When picking dtf transfer film, people should think about fabric compatibility, print durability, and color vibrancy. Cotton often gives brighter images, while stretch and weave tightness affect how well the print sticks. The right film helps keep colors bold and prints lasting.
| Feature | A3 DTF Printer | A4 DTF Printer |
| Print Size | 11.7 x 16.5 inches | 8.3 x 11.7 inches |
| Speed | Faster | Slower |
| Cost | Higher | Lower |
| Production | Medium/Large-scale | Small-scale/Hobby |
| Application | Bulk orders, hoodies | Logos, patches, kids’ wear |
Essential Tools for DTF Printing
A successful dtf setup needs the right equipment. A dtf printer prints designs onto dtf transfer sheets using dtf inks. These dtf inks (CMYK and white) make sure colors pop and last. TPU adhesive powder bonds the design to the garment, giving a soft feel. A heat source, like a heat press machine, cures the adhesive. The heat press transfers the design from the dtf transfer film to the garment with steady pressure. RIP software manages color accuracy, while design software helps create artwork.
| Equipment | Role in DTF Printing |
| DTF Printer | Prints designs onto dtf transfer sheets |
| DTF Film | Holds the printed design before transfer |
| DTF Inks | Provides vibrant, lasting colors |
| TPU Adhesive Powder | Bonds design to garment |
| Heat Source | Cures adhesive powder |
| Heat Press | Transfers design to garment |
| RIP Software | Ensures color accuracy |
| Design Software | Prepares artwork |
Recommended Garments and Fabrics
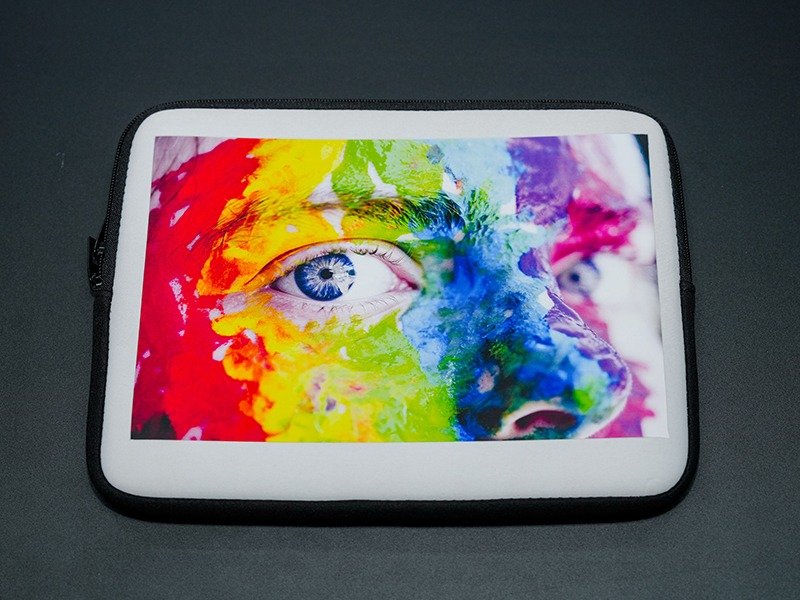
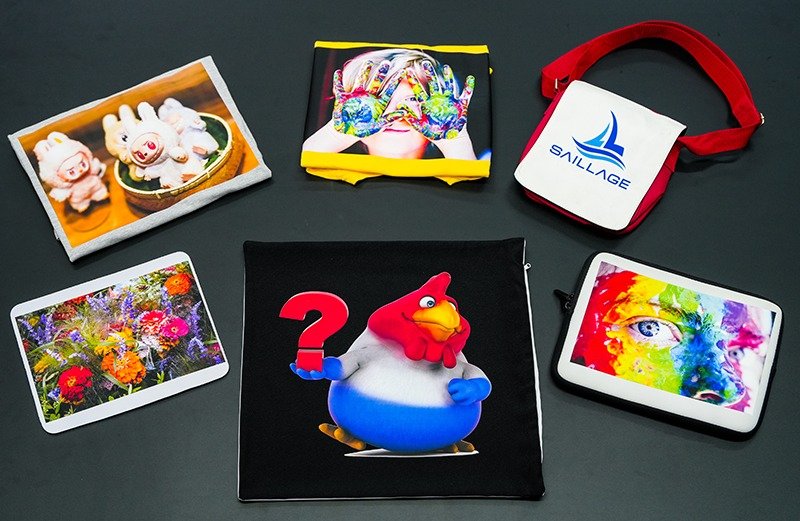
DTF transfer film works best on cotton, cotton blends, and some polyester garments. These fabrics hold dtf inks well and keep prints vibrant. Custom t-shirt printing with dtf transfer sheets is popular for t-shirts, hoodies, and tote bags. Polyester needs careful heat management to avoid melting or dye migration. Nylon can be tricky because dtf transfers may not stick well. For best results, choose garments with tight weaves and good heat tolerance.
Tip: Always test dtf transfer sheets on a sample garment before starting a big project. This helps avoid surprises and keeps prints looking sharp.
DTF Printing: Step-by-Step Guide
Design Preparation
Designing for dtf printing starts with choosing the right file format and resolution. Designers often use PNG files because they keep transparency and high image quality. PSD files work well for layered artwork, making edits easy. SVG files suit vector designs, but sometimes need rasterization before printing. JPEG files compress images, so most people avoid them for dtf transfers.
| File Format | Description |
| PNG | Retains transparency and high image quality. |
| PSD | Keeps all design layers intact for easy modifications. |
| SVG | Great for vector designs but may require rasterization before printing. |
| JPEG | Avoid using as it compresses images and reduces quality. |
Resolution matters for custom t-shirt printing. Most designers set artwork at 300 DPI for sharp, professional results. They size the design to match the actual print area and avoid upscaling low-res images.
| Resolution | Description |
| 300 DPI | Industry standard for professional prints. |
| 150 DPI | Minimum acceptable quality for large prints viewed from a distance. |
Color management plays a big role in dtf printing. Designers use color profiles to match screen colors with printed results. Regular monitor calibration and custom printer profiling help keep colors vibrant and accurate. This step is especially important for brand logos and detailed graphics.
Tip: Always check color profiles and calibrate equipment before starting a new project. This helps prevent surprises and keeps dtf transfers looking consistent.
Printing on DTF Film
The dtf printing process begins with loading the dtf transfer film into the printer. Most people place the matte side up for better ink absorption. They select high-quality dtf inks to ensure vibrant colors and long-lasting prints. Ink density settings matter, especially for white ink, which should cover color layers for optimal opacity.
Here are some recommended printer settings for dtf transfers:
- Resolution: Set to at least 1440×720 DPI for detailed prints.
- Print speed: Use slow or normal speed for precise ink placement.
- White ink coverage: Enable 100% under color layers.
- Ink density: Balance between 85–90% for smooth blending.
- ICC color profile: Choose the correct profile for accurate colors.
Designers often use RIP software to manage color and print order. They print color first, then add white ink for better adhesion. The choice of dtf transfer film, such as SAILLAGE’s All-Time Peel or Hot Peel, can affect vibrancy and texture.
Applying Adhesive Powder
After printing, users apply adhesive powder to the wet ink. They use a sifter or screen mesh to spread the powder evenly across the design. Holding the powder shaker 4-6 inches above the print helps cover the artwork without clumping. Gently tapping the film settles the powder into the ink.
Note: Even powder application is key for dtf transfers. High-quality dtf powder creates a strong bond and a soft feel, making the garment comfortable and wash-resistant.
Fine or medium powders work best for a smooth finish. Over-applying powder can cause stiffness, while under-applying leads to poor adhesion.
Curing the Print
Curing locks the adhesive powder into the ink. Most people use a heat press or curing oven for this step. The recommended temperature ranges from 300°F to 325°F, with a curing time of 10 to 15 seconds and medium to firm pressure.
| Method | Temperature (°F) | Time (seconds) | Pressure |
| Heat Press | 300°F – 325°F | 10 – 15 | Medium to firm |
Signs of under-curing include tacky adhesive and weak durability. Over-curing can cause discoloration and brittleness. Adjusting pressing times and temperatures helps achieve optimal adhesion.
Tip: Use a thermometer or heat gun to check surface temperatures. Test with sample garments to avoid curing mistakes.
Heat Pressing and Peeling
The heat transfer process moves the design from dtf transfer film to the garment. Users pre-press the garment to remove moisture and wrinkles. They position the dtf transfer film with the design facing down, using heat-resistant tape to keep it in place.
For dtf transfers, apply medium to firm pressure at 300–315°F for 10–13 seconds. Let the transfer cool completely before peeling if using cold peel film. Hot peel films can be peeled right after pressing, leaving a glossy finish. Cold peel films offer a smoother, more durable result.
| Method | Appearance Characteristics | Texture Characteristics |
| Hot Peel | Matte or slightly textured look | Slightly glossy finish, can enhance designs on darker fabrics |
| Cold Peel | Smoother, glossier, and more vibrant look | Superior durability, stronger bond with fabric, less prone to cracking or fading after washes |
After peeling, many people perform a final press with parchment paper for 3–5 seconds. This seals the transfer and improves wash performance.
Tips and Troubleshooting for DTF Transfers
DTF transfers sometimes face issues like poor ink adhesion, cracking, or image distortion. Here are some common problems and solutions:
- Poor ink adhesion: Use high-quality dtf transfer film and powder. Make sure the garment suits dtf printing.
- White ink issues: Shake bottles before printing and run maintenance cycles.
- Ink bleeding: Reduce ink output and allow extra drying time.
- Clogged printheads: Run nozzle checks and clean regularly.
- Film wrinkling: Store film flat and adjust curing temperature.
- Poor film transfer: Follow recommended settings and apply even pressure.
- Cracking and peeling: Use quality materials and correct heat press settings.
- Image distortion: Secure the garment and test with scrap fabric.
Tip: Test dtf transfers on sample garments before starting large orders. This helps catch problems early and keeps custom t-shirt printing smooth.
Regular printhead cleaning, proper powder application, and correct curing temperatures prevent most print quality issues. Avoid expired inks and films, and check for even film loading.
Caring for DTF-Printed Apparel
Proper care extends the life of dtf transfers on custom t-shirts and other garments. Most people turn shirts inside out before washing. They use cold water and a gentle cycle, adding mild detergent. Fabric softeners and bleach can damage the print, so it’s best to skip them.
- Air drying is ideal. Hang the garment in a shaded area.
- If using a dryer, select the lowest heat setting and keep the shirt inside out.
- Avoid direct sunlight, which may fade the design.
- Don’t wring out the shirt to prevent distortion.
| Care Step | Recommendation |
| Washing | Cold water, gentle cycle, mild detergent |
| Drying | Air dry, avoid high heat |
| Sunlight Exposure | Keep out of direct sunlight |
| Fabric Softeners | Avoid |
DTF prints can last between 50 to 100 washes with proper care. Screen printing may last longer, but dtf transfers offer vibrant colors and flexibility for custom t-shirt printing projects.
Tip: Always wash dtf-printed apparel inside out and air dry when possible. This keeps prints looking fresh and prevents edge lifting.
How to Use DTF Paper: Quick Reference
- Prepare your design in PNG or PSD format at 300 DPI.
- Print on the matte side of dtf transfer film using recommended printer settings.
- Apply adhesive powder evenly and cure at the right temperature.
- Position the film on the garment, press, and peel according to film type.
- Perform a final press for durability.
- Follow care instructions to maximize lifespan.
This step-by-step guide helps anyone learn how to use dtf paper for custom t-shirt printing. With the right materials and process, users can apply dtf transfers for vibrant, long-lasting results.
DTF transfer film makes custom t-shirt printing easy for anyone. SAILLAGE offers options for every project. People can follow simple steps and get bright, long-lasting results. Custom t-shirt printing with dtf saves time and boosts creativity. They should try different SAILLAGE films for the best outcome.
FAQ
What are the basic guidelines for using DTF transfer film?
People should always print on the matte side, use the right heat press settings, and test on a sample. These guidelines help get the best results.
Can DTF film work on dark or colored garments?
Yes, DTF film works well on dark or colored garments. The white ink layer helps designs stay bright and visible on any fabric color.
Where can someone find faqs related to using dtf film?
They can check the SAILLAGE website or ask in printing forums. Many users share tips, tricks, and answers to common questions about DTF printing.